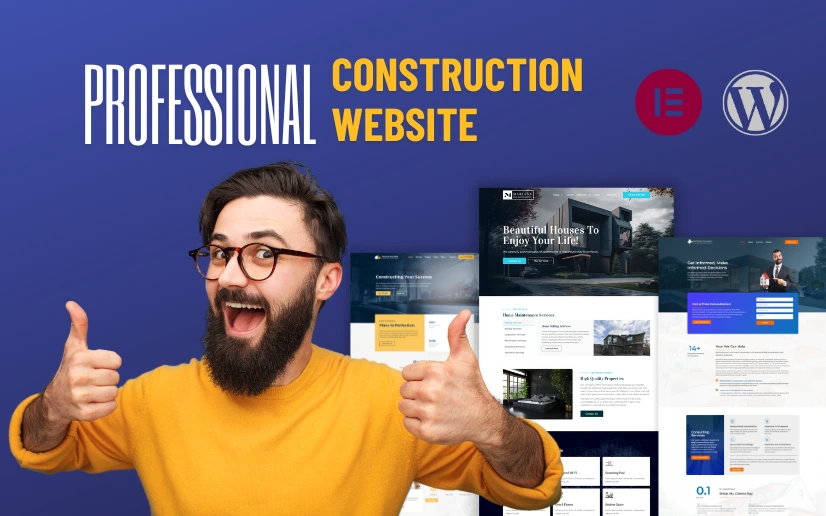
In today’s digital age, having a professional, well-designed website is crucial for any construction business. Think of it as your online storefront—a place where clients can learn about your services, see your past projects, and get in touch. But how do you go about creating a construction website that stands out? Let’s explore three effective ways to build a website that can impress your clients: using a Construction Elementor Template Kit, hiring an expert freelancer, and contacting a web design agency.
Using a Construction Elementor Template Kit
Elementor is a fantastic tool for creating stunning, responsive construction websites without needing any coding skills. Here’s how you can use it:
Step 1: Choose a Template Kit
First, you’ll need to select a template kit that fits your business. Elementor offers a variety of construction templates. A standout option is the Arch Construction Elementor Template Kit. This kit is specially designed for construction businesses, featuring sleek, professional templates that will make your website look top-notch.
Step 2: Install Elementor
To get started, you’ll need to install Elementor on your WordPress site:
- Log into Your WordPress Admin Dashboard: This is your central hub for managing your website.
- Go to the Plugins Section: On the left-hand side panel, click on “Plugins” and then “Add New.”
- Search for Elementor: In the search bar, type “Elementor” and hit enter.
- Install and Activate: Click on “Install Now” next to Elementor, and once it’s installed, click “Activate.”
Step 3: Import the Template Kit
Next, let’s incorporate your chosen template kit:
- Download the Template Kit: From the provided link, download the Arch Construction Template Kit file to your computer.
- Import the Kit into WordPress: In your WordPress dashboard, navigate to “Templates” > “Kit Library.”
- Upload the Kit: Click “Import Kit” and upload the file you downloaded.
- Follow the Prompts: Elementor will guide you through the steps to ensure everything is correctly imported.
Step 4: Customize Your Templates
Now for the fun part—customizing your website to match your brand:
- Edit Pages with Elementor: Go to “Pages” in your WordPress dashboard. Select the page you want to edit and click “Edit with Elementor.”
- Drag-and-Drop Simplicity: Use the drag-and-drop interface to add your logo, change the color schemes, and input your content. Make sure to highlight your unique services, showcase your best projects, and add client testimonials.
- Ensure Responsiveness: Check how your website looks on different devices like smartphones and tablets to make sure it’s responsive.
Step 5: Publish Your Site
Once you’re happy with how everything looks:
- Preview Your Site: Take a few moments to preview your site and make any last-minute adjustments.
- Hit Publish: When you’re ready, click the “Publish” button in Elementor.
- Go Live: Congratulations! Your modern, SEO-friendly construction website is now live and ready for the world to see.
Hiring an Expert Freelancer
If DIY isn’t your thing, hiring a skilled freelancer can be an excellent choice. Here’s how to go about it:
Step 1: Define Your Requirements
Start by clearly outlining what you need:
- Design Style: Do you want a sleek, modern look or something more traditional?
- Functionalities: Do you need contact forms, project galleries, booking systems, or perhaps all of the above?
- Budget and Timeline: It’s important to set clear expectations from the start.
Step 2: Find a Freelancer
There are many talented freelancers out there. Websites like Upwork and Fiverr are great places to start. Check out:
Step 3: Discuss and Plan
Once you’ve found a potential freelancer:
- Share Your Vision: Discuss your design preferences and specific needs. Sharing examples of websites you like can be incredibly helpful.
- Agree on a Timeline and Budget: Make sure to settle on a clear timeline and budget to avoid any surprises.
- Draft a Comprehensive Agreement: This helps set expectations and ensures both parties are on the same page.
Step 4: Collaborate and Review
Maintain good communication and stay engaged as the freelancer develops your site:
- Regular Check-ins: Set up regular meetings or updates to discuss progress and provide feedback.
- Review Milestones: Review and approve key milestones to ensure the project stays on track.
- Provide Feedback: Be specific with your feedback to make sure the final product aligns with your vision.
Step 5: Finalize and Launch
Once the website is complete, do a thorough review before going live:
- Test Everything: Ensure all functionalities work seamlessly, from contact forms to project galleries.
- Make Final Tweaks: Address any last-minute changes or issues.
- Launch Your Site: Once everything is perfect, it’s time to launch your beautifully designed construction website.
If you prefer a more hands-off approach or need a high-end, professionally tailored website, reaching out to a web design agency may be your best bet. Here’s how you can go about it:
Step 1: Research and Select an Agency
Find a web design agency that specializes in creating websites for construction businesses:
- Online Research: Look for agencies with strong portfolios and positive reviews.
- Recommendations: Ask industry peers for recommendations.
- Focus on Experience: Choose an agency with experience in the construction industry. For instance, Obzsar Web Design Agency is worth checking out.
Step 2: Initial Consultation
Set up an initial consultation to discuss your needs:
- Prepare a Brief: Create a document outlining your needs, design preferences, and any specific functionalities you want.
- Share Examples: Provide examples of construction websites you like to give the agency a clear idea of your vision.
- Discuss Budget: Be upfront about your budget range to ensure it aligns with the agency’s services.
Step 3: Design and Development
The agency will take you through a structured process:
- Wireframes and Mockups: They’ll start by creating wireframes and design mockups for your approval.
- Development: Once the designs are approved, they’ll begin the development phase, building the actual site.
- Content Input: Provide all necessary content—text, images, videos—so they can populate your site accurately.
Step 4: Review and Feedback
Maintain communication and provide feedback throughout the process:
- Regular Updates: The agency should provide regular updates on the progress.
- Iterative Feedback: Give feedback after each phase, which allows for iterative improvements.
- User Testing: Ask different people to test the site for user experience and functionality to catch any issues.
Step 5: Launch and Ongoing Support
After the final review, the site is ready to go live:
- Launch: The agency will handle the technical aspects of making your site live.
- Training: They may offer training on how to manage and update your site.
- Ongoing Support: Consider opting for a maintenance package to keep your site updated and secure.
Conclusion
Creating a professional, eye-catching construction website can significantly boost your business’s online presence and attract new clients. Whether you choose to use a Construction Elementor Template Kit, hire a talented freelancer, or contact a web design agency, each approach has its unique benefits. Consider your budget, timeline, and technical comfort level to choose the best method for your needs.
Ready to build that fantastic construction website? Dive in, and watch your online presence take your business to the next level!